The Importance of Transplanting Tomatoes
We’ve watched them grow up from seeds, smiling at them once they broke the soil surface, giving them the best growing conditions available.
Maybe you’ve even talked to them, giving encouragement as new leaf buds appear, adjusting the grow lights first to the right and then to the left, trying to maximize the leaf exposure to the artificial rays.
But now, they seem to be languishing.
Their growth rate has declined.
Or, like me, you dropped two seeds into a planting hole, and both seeds germinated.
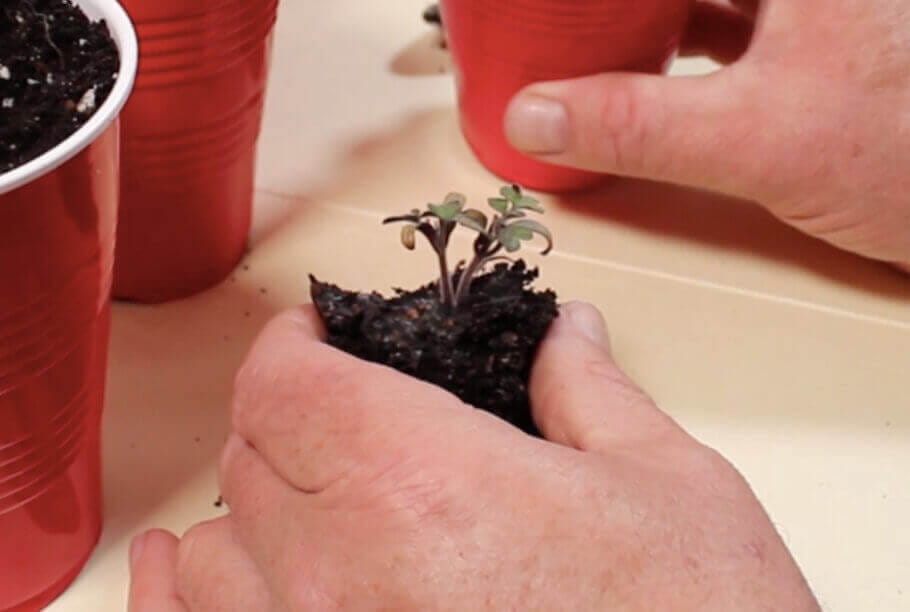
Whatever the case, reduced growth rates, crowded root conditions, double plantings, and leaves fighting each other for light. Eventually, we need to transplant our seedlings, whether they be tomatoes, peppers, or any other seed start.
Transplanting Tomatoes From My Double Cups
My tomato seeds were planted three seeds in a faux Solo cup. The top area of a 16-oz plastic cup is about 11 square inches.
So three plants in one container is a bit too much. I knew this going in and planned on transplanting them, so only one plant is growing in a cup.
But three issues have popped up that have made me need to transplant sooner than I wanted.
The first (shown in the image above) is that I somehow doubled up seeds in some planting holes.
The second is that my original potting mix was too heavy and needed perlite added to allow for better oxygen exchange between the soil and air.
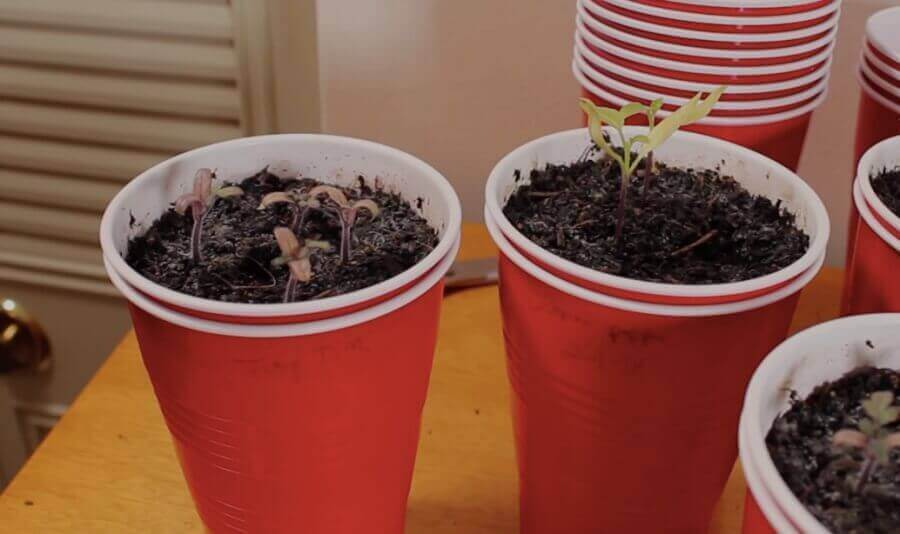
The third reason I expect is a cause for slow growth is the grow lights over the tomato and pepper plants. I had a Unifun grow light (*update: these lights suck) over the plants, which might also be a reason for my perceived slow growth.
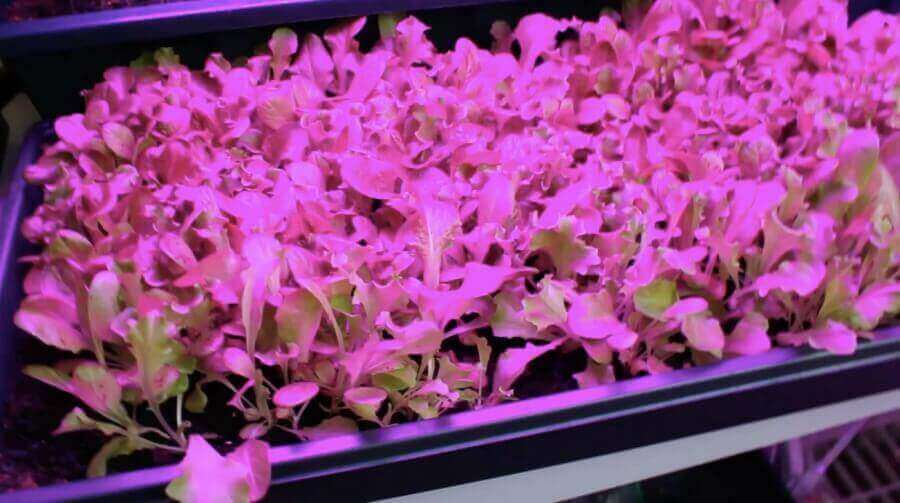
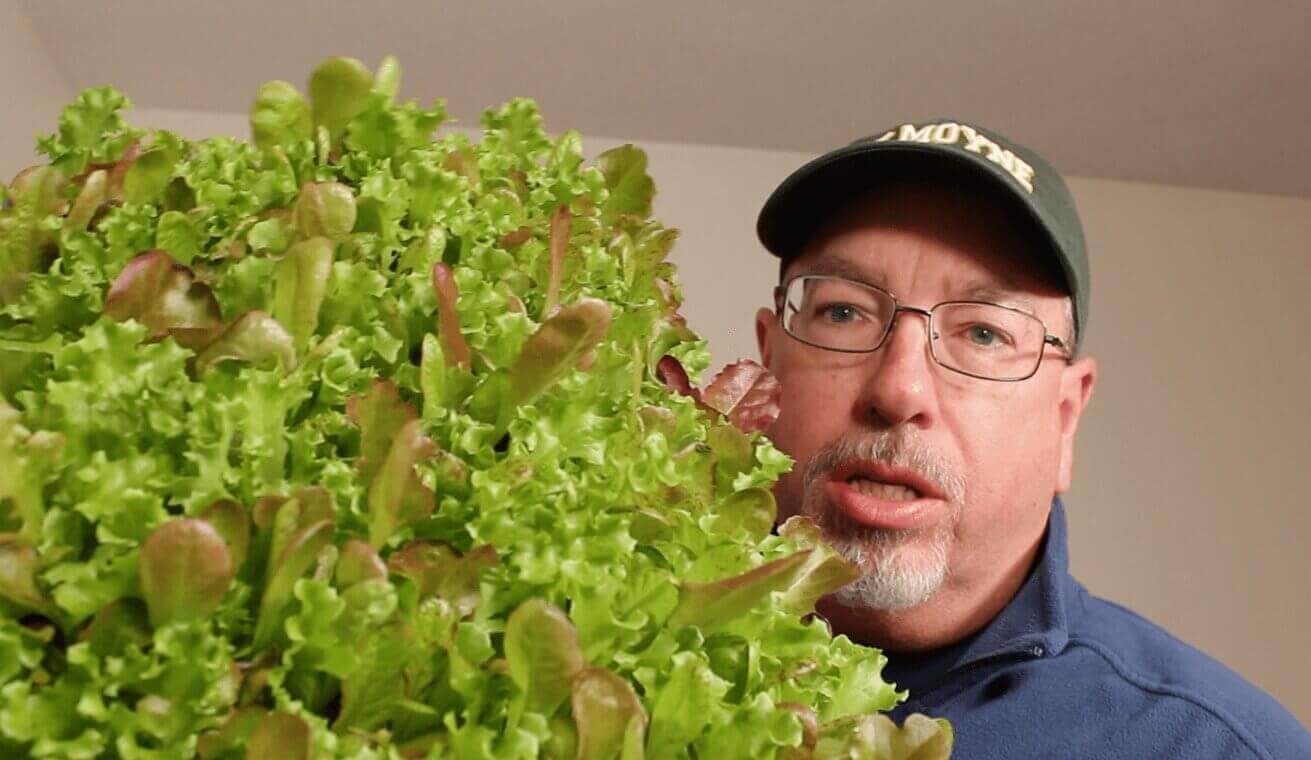
Below is the same Unifun lights shining over some salad mix. Notice the reddish-purple light. Not sure tomato and pepper plants care for this light source. Once transplanted, I’m moving the tomatoes and peppers to a new light source.
Too Many Variables To Tell
There’s no way of knowing which of the three issues contributes to the slow growth.
Regardless, the plants need a boost, and since I need to transplant the tomatoes and peppers at some point, I decided to do it sooner than later.
Ideally, the plants should be taller and more sturdy before transplanting. The lack of growth pushed the issue, and I went ahead and separated the plants.
The video below shows the process, and I’ll discuss it in more detail after the video.
The Process of Transplanting Tomatoes
The tomatoes are grown via the double cup method, and the transplanting goes back into the double cups.
The size of the faux solo cups will be great once they’re full of roots and ready to be transplanted again into their larger growing containers (in my case) or to be given away for other people to plant in their gardens.
The double cup method also allows for bottom watering of the plants, keeping the soil surface drier and less susceptible to disease.
Materials Needed for Transplanting Tomatoes
- Two 16-oz plastic cups (one whole, the other with holes in the bottom)
- A pointed and relatively flat spoon
- A potting soil mix
- Compost bin
- Spray bottle
The purpose of the cups should be obvious. The spoon is to slide down the side of the growing cup to pry up the starts.
Change from seed starting mix to potting soil in the new transplant cup.
The compost bin is for the old seed start mix. And the spray bottle is to wet the potting soil surface so the newly exposed roots don’t dry out in the new potting mix.
How to Transplant Tomatoes
The old mix should be moist so it will stick together. Slide the spoon down the side of the cup and gently pry up a seed start.
If it’s a double start, carefully pull the plants apart without damaging the roots. If it seems impossible, it will be better to sacrifice one of the plants (more on this later).
Keep as much of the small root ball intact as possible. If the soil does come off, it’s okay, it will work fine, but more care will need to be taken.
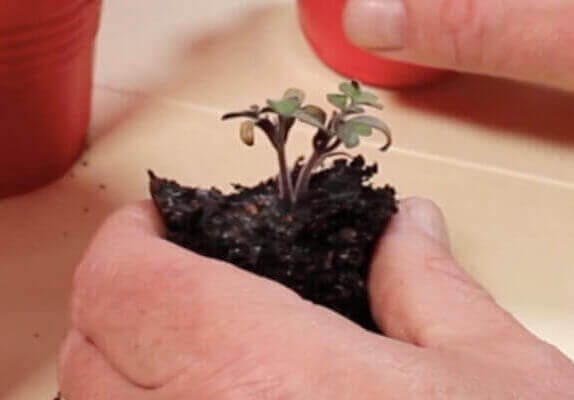
Keep as much soil around the plants as you can.
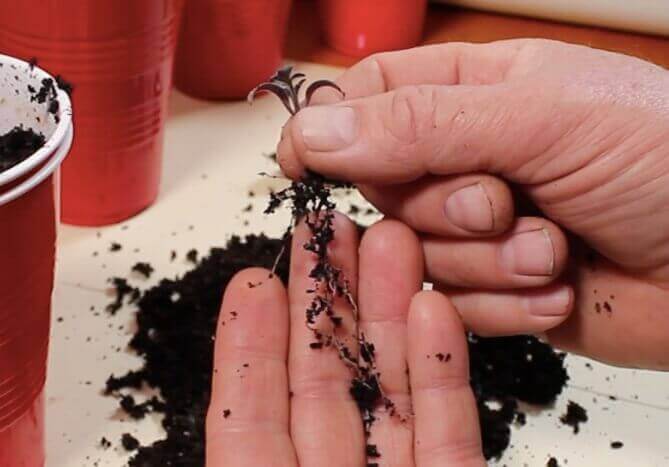
If the soil comes off, it’s okay; make a deeper hole in the new soil.
Fill the new transplant container with potting soil. This time I used Royal Gold Basement Mix. The soil is coconut coir based and seems very nice. After experimenting, I’ll let you know which soil works best for me.
Make a depression in the soil mix to fit the tomato root ball or a deeper, narrow hole if the soil comes off the roots.
Place the plant’s roots into the depression and push the soil around the roots. When you finish, the plant should be very secure and not lean or move when handling the container.
Click the images to see larger photos.
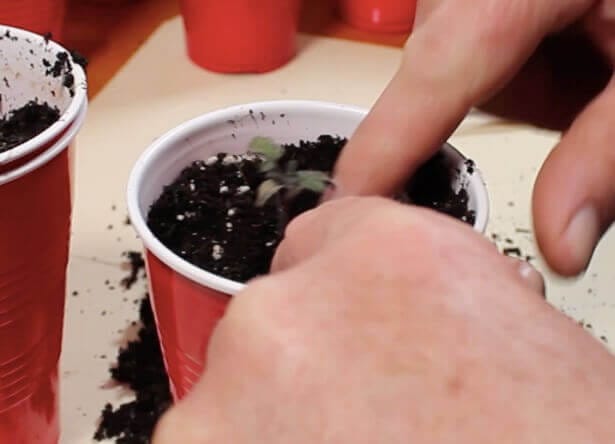
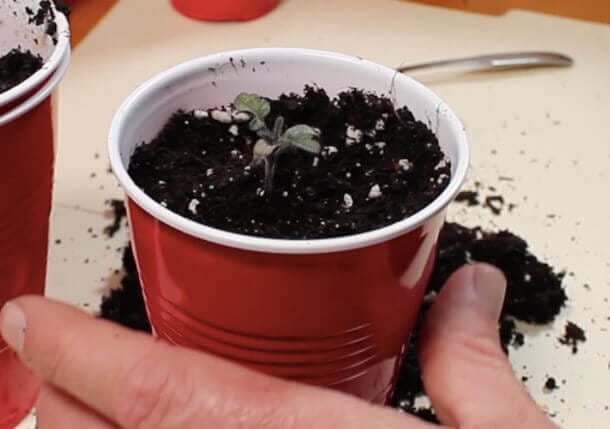
You can plant the starter with tomatoes deeper than the original growth depth. For transplanting the plant the first time, I try to plant it at the same depth.
Once the plant is larger and ready to go into its final container or the ground, I will plant it deeper.
All that is left is to water the newly transplanted tomato plant. First, I use a spray bottle to wet the soil surface and follow that up with bottom watering.
That’s It! You’re Done
The tomato is successfully transplanted. That’s all there’s to it. These plants will go under a new set of grow lights, and the good news for them is that we will get more natural sunlight this time of year.
Once the plants have reached a new growth stage, I’ll link the new post here so you can follow their journey if you’d like.
Pepper Transplants
The process is the same for peppers as it is for tomatoes. Be careful; peppers are a bit more tender than tomato starts. You have to handle them very gently.
Comment & Share
Please drop me a note below if you have any comments or suggestions. I’d love to hear from you.
Please share this post with your friends via social media, and if you haven’t yet, please subscribe to my updates so you get one weekly update on the newest blog posts and YouTube videos.
Pin the image below to your Pinterest board.

Nice tutorial. It is well written, with helpful pictures.
Thank you! I have a new video coming out soon with some modifications that produce a better root system. Most likely, the video will be published on My View From The Woods YouTube channel and the article on GardenPermaculture.com